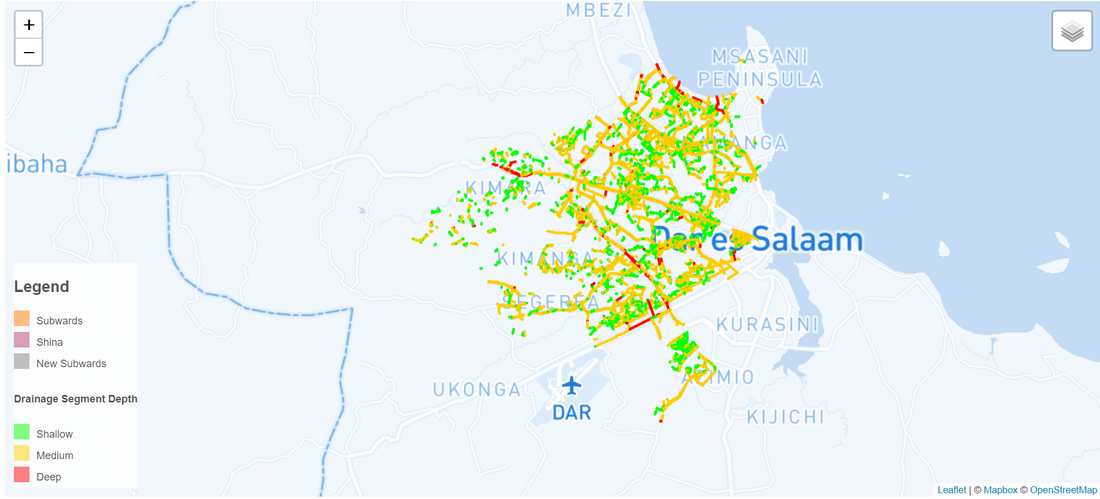
This semester, my peers Aaron Eubank, Bryce Stouffer, Samuel Watson, Wei Hong Loh, and I took on a directed study under our professor Dr. Lyndon Estes on the implementation and use of PostGIS. While I had prior experience with SQL Server and some of its spatial functions, I had never used SQL to perform a full range of geoprocessing tasks. I found my workflows to be more reproducible than using ArcGIS and QGIS, and found processing speeds to be faster than R’s {sf} package.
Our professor noted to us, however, that working on a locally hosted database has become outmoded in the face of cloud computing. He recommended that we learn to set up PostGIS on AWS and learning how to secure it against unauthorized access. I had never used AWS prior to this semester, and didn’t know too much about what was involved. As it turns out, use of these cloud services often necessitates knowledge of the terminal/command prompt and its associated functions, which I had little prior experience with. By the end of the semester, though, I became much more proficient in its use and how to improve data security.
The Project
We set out to host geosptial data on a PostgreSQL database. To visualize the data, we used Leaflet.js in combination with GeoServer. We found that GeoServer improved interoperability between our front and backend solutions, and even added an additional layer of security to our project.
The Data
For the purposes of this tutorial, I am changing the data from the original project. You may use the sample data, here
Virtual Machine Creation
-
Create an AWS Account if you do not already have one
-
If you are a student, you can open an AWS Educate account, which gives you $40 of free credits per month as of December 2019
-
You can also open a free-tier account. You may still need to enter in credit card information. However, the charges for this tutorial should be minimal (in the single dollars)
-
Please, please, please do not use the root user to create or manage resources for your account. This is a major security flaw and just bad practice. Instead, use a separate IAM user to do this- and as always, enable MFA. I will demonstrate how in another tutorial. Until then, please search for information on how to do this if you are unsure of the methodology.
-
-
Search for EC2 in the management console search bar, and go to the EC2 page.
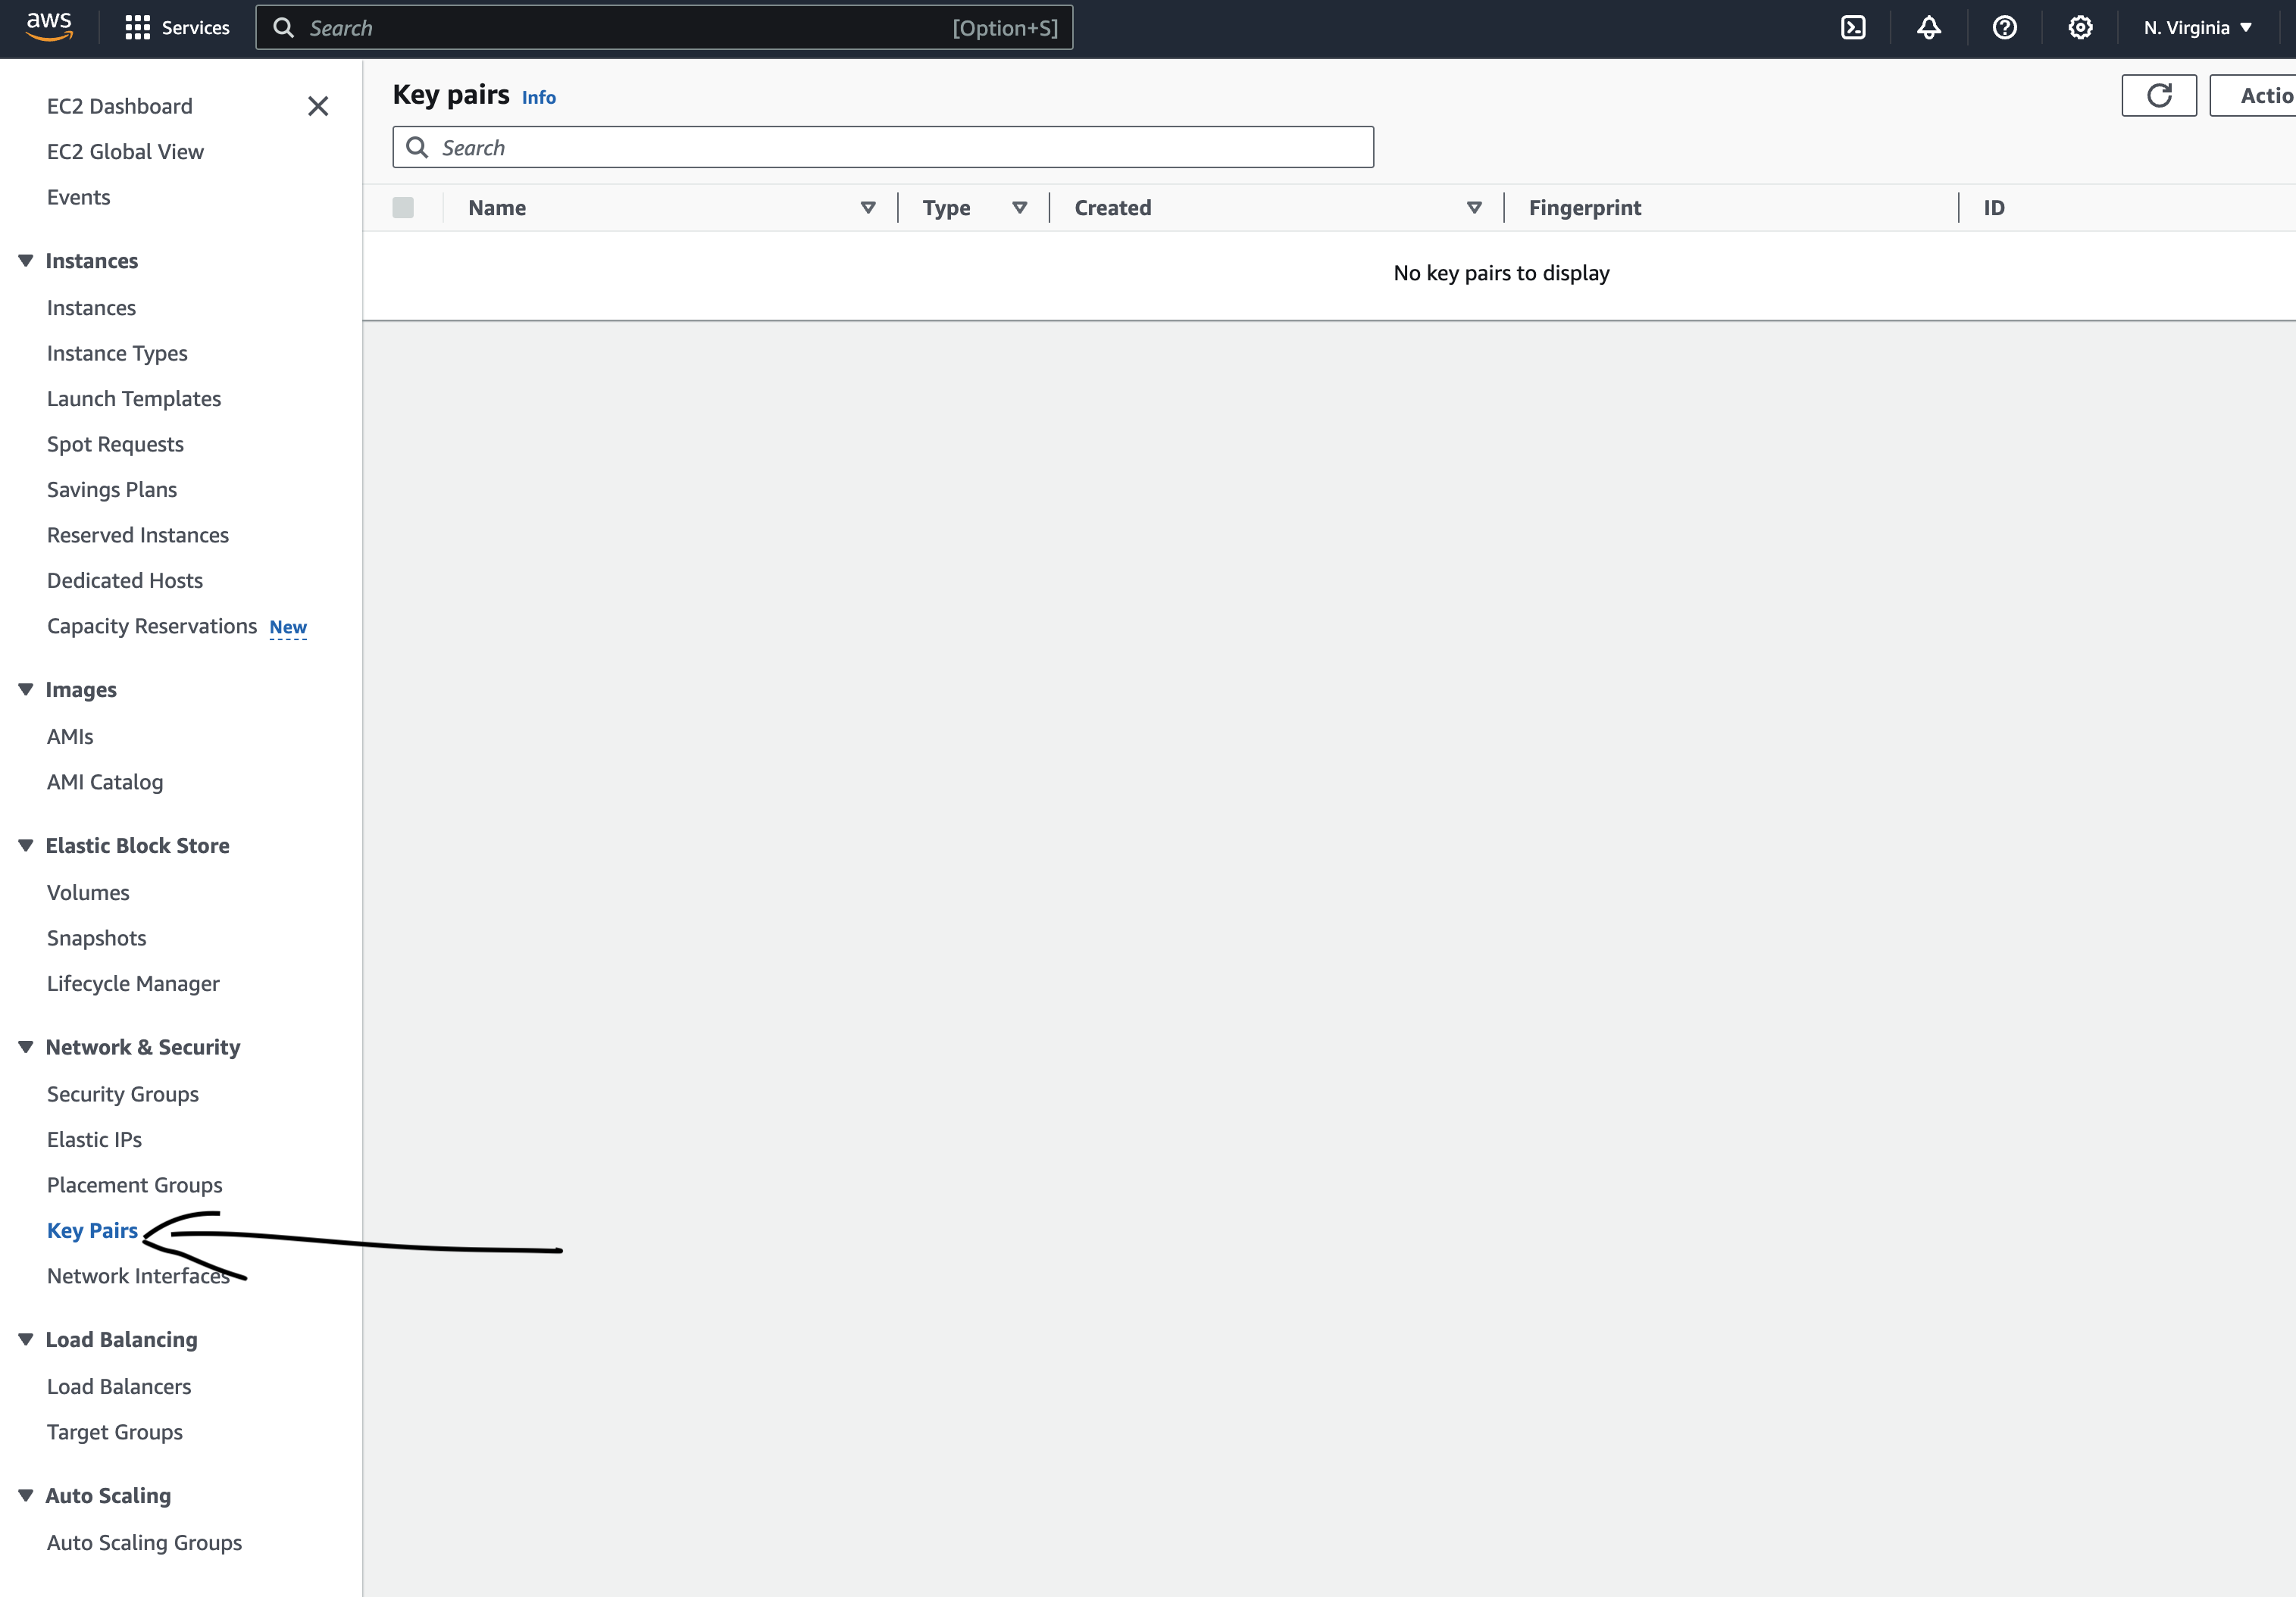
- Generate a Key Pair
- This option will be under the “Network and Security Subsection”
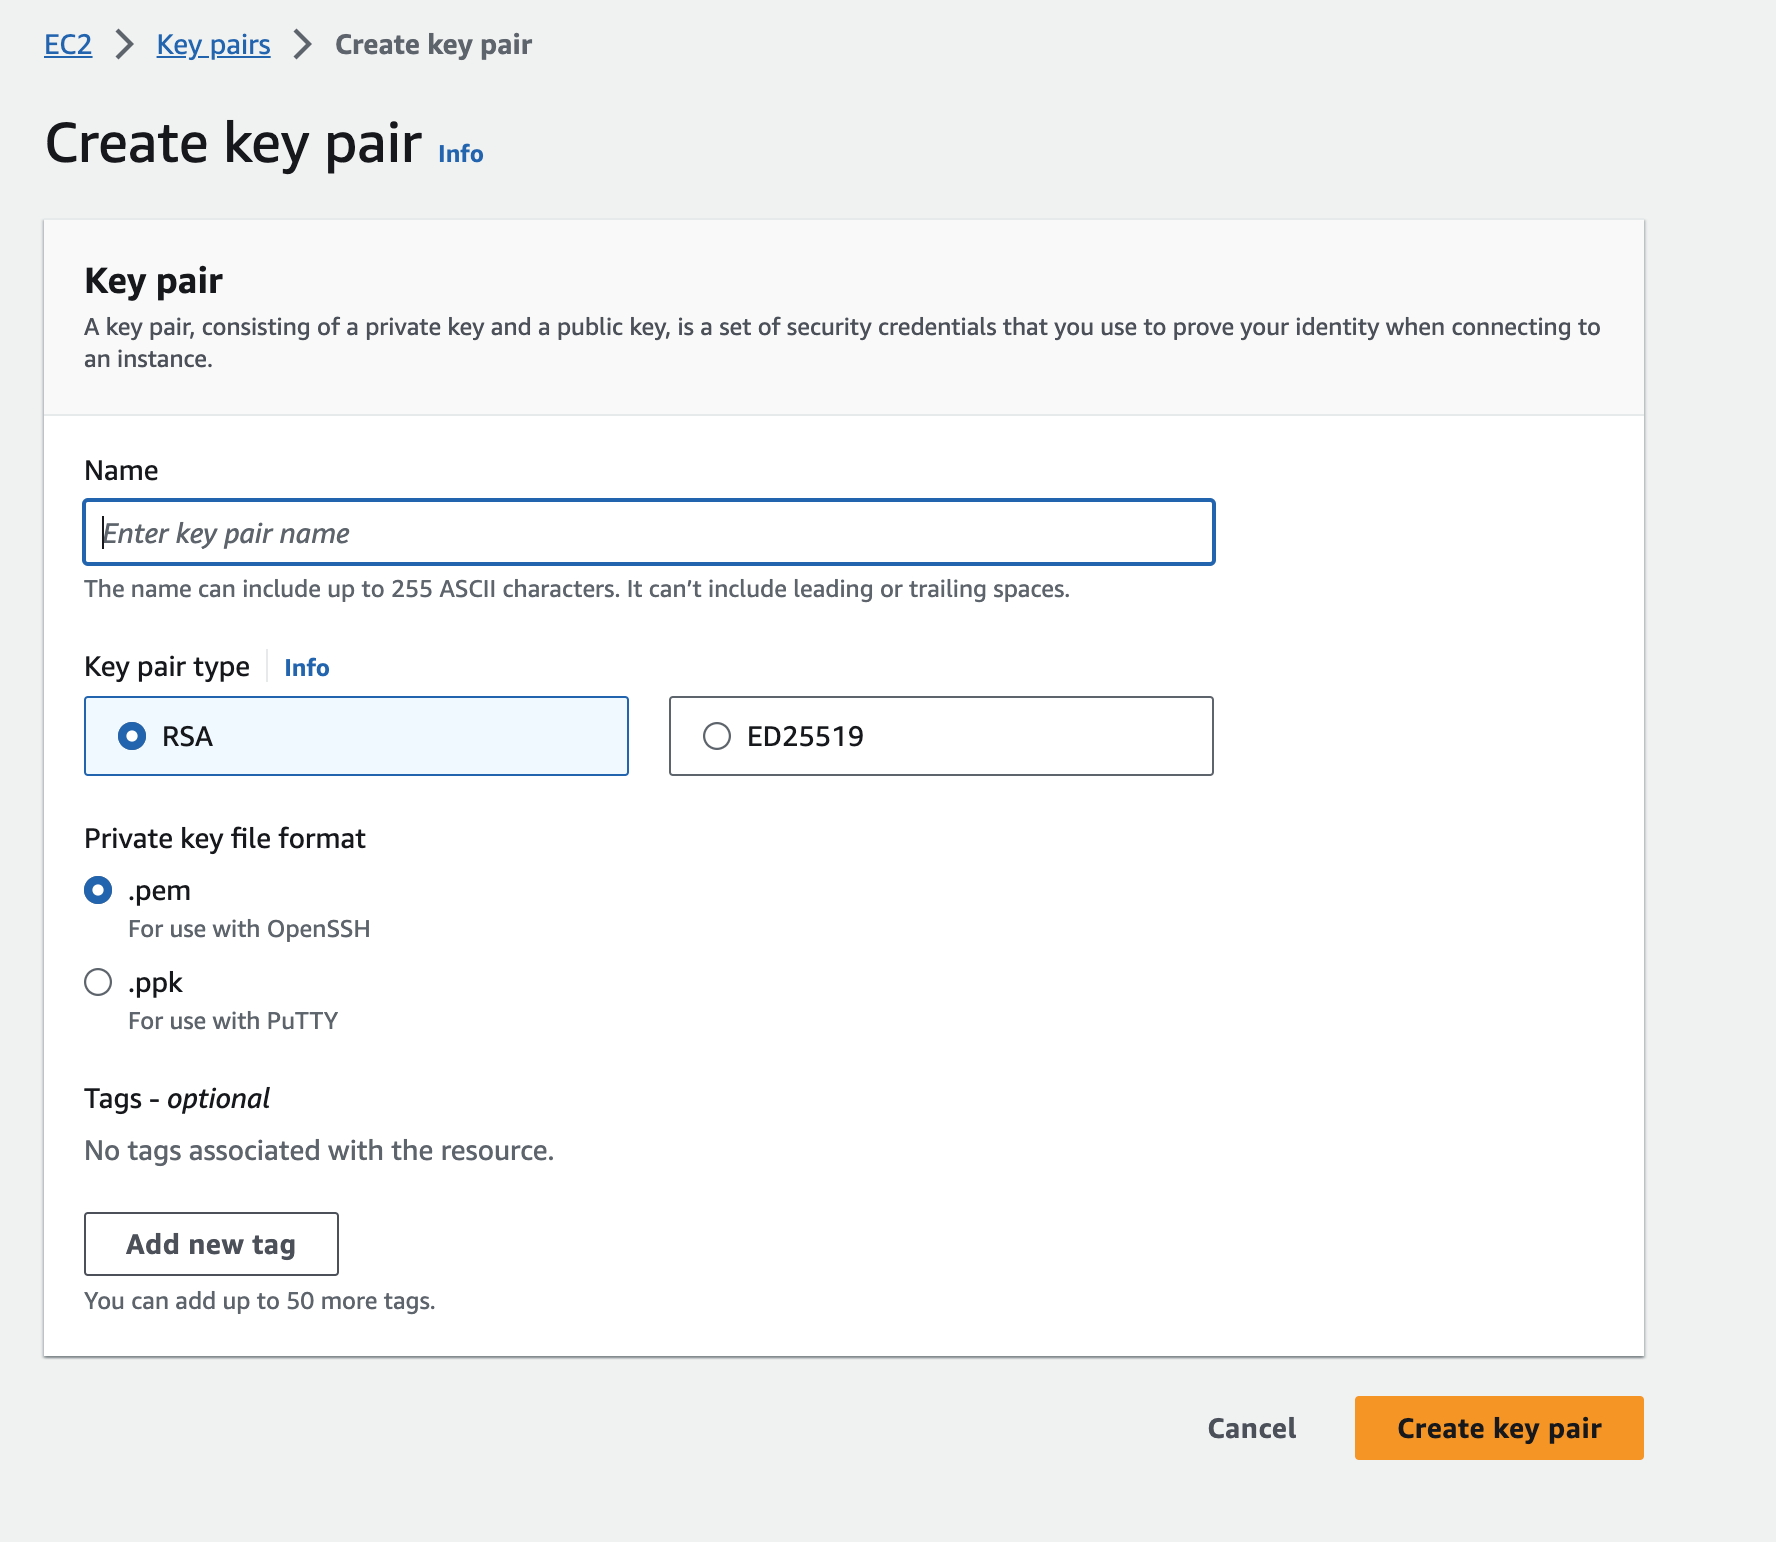
- Choose a name for your key pair that is easy to remember
- If you are using Linux, MacOS, or a modern Windows OS (v10 or higher), use .pem file format
-
Download the key pair and store it in a safe place. Do not share it!

- Click Launch Instance button, and then choose an AMI (Amazon Machine Image)
-
We chose an Ubuntu instance, which is Free Tier Eligible. But, Amazon Linux is also free-tier eligible as well.
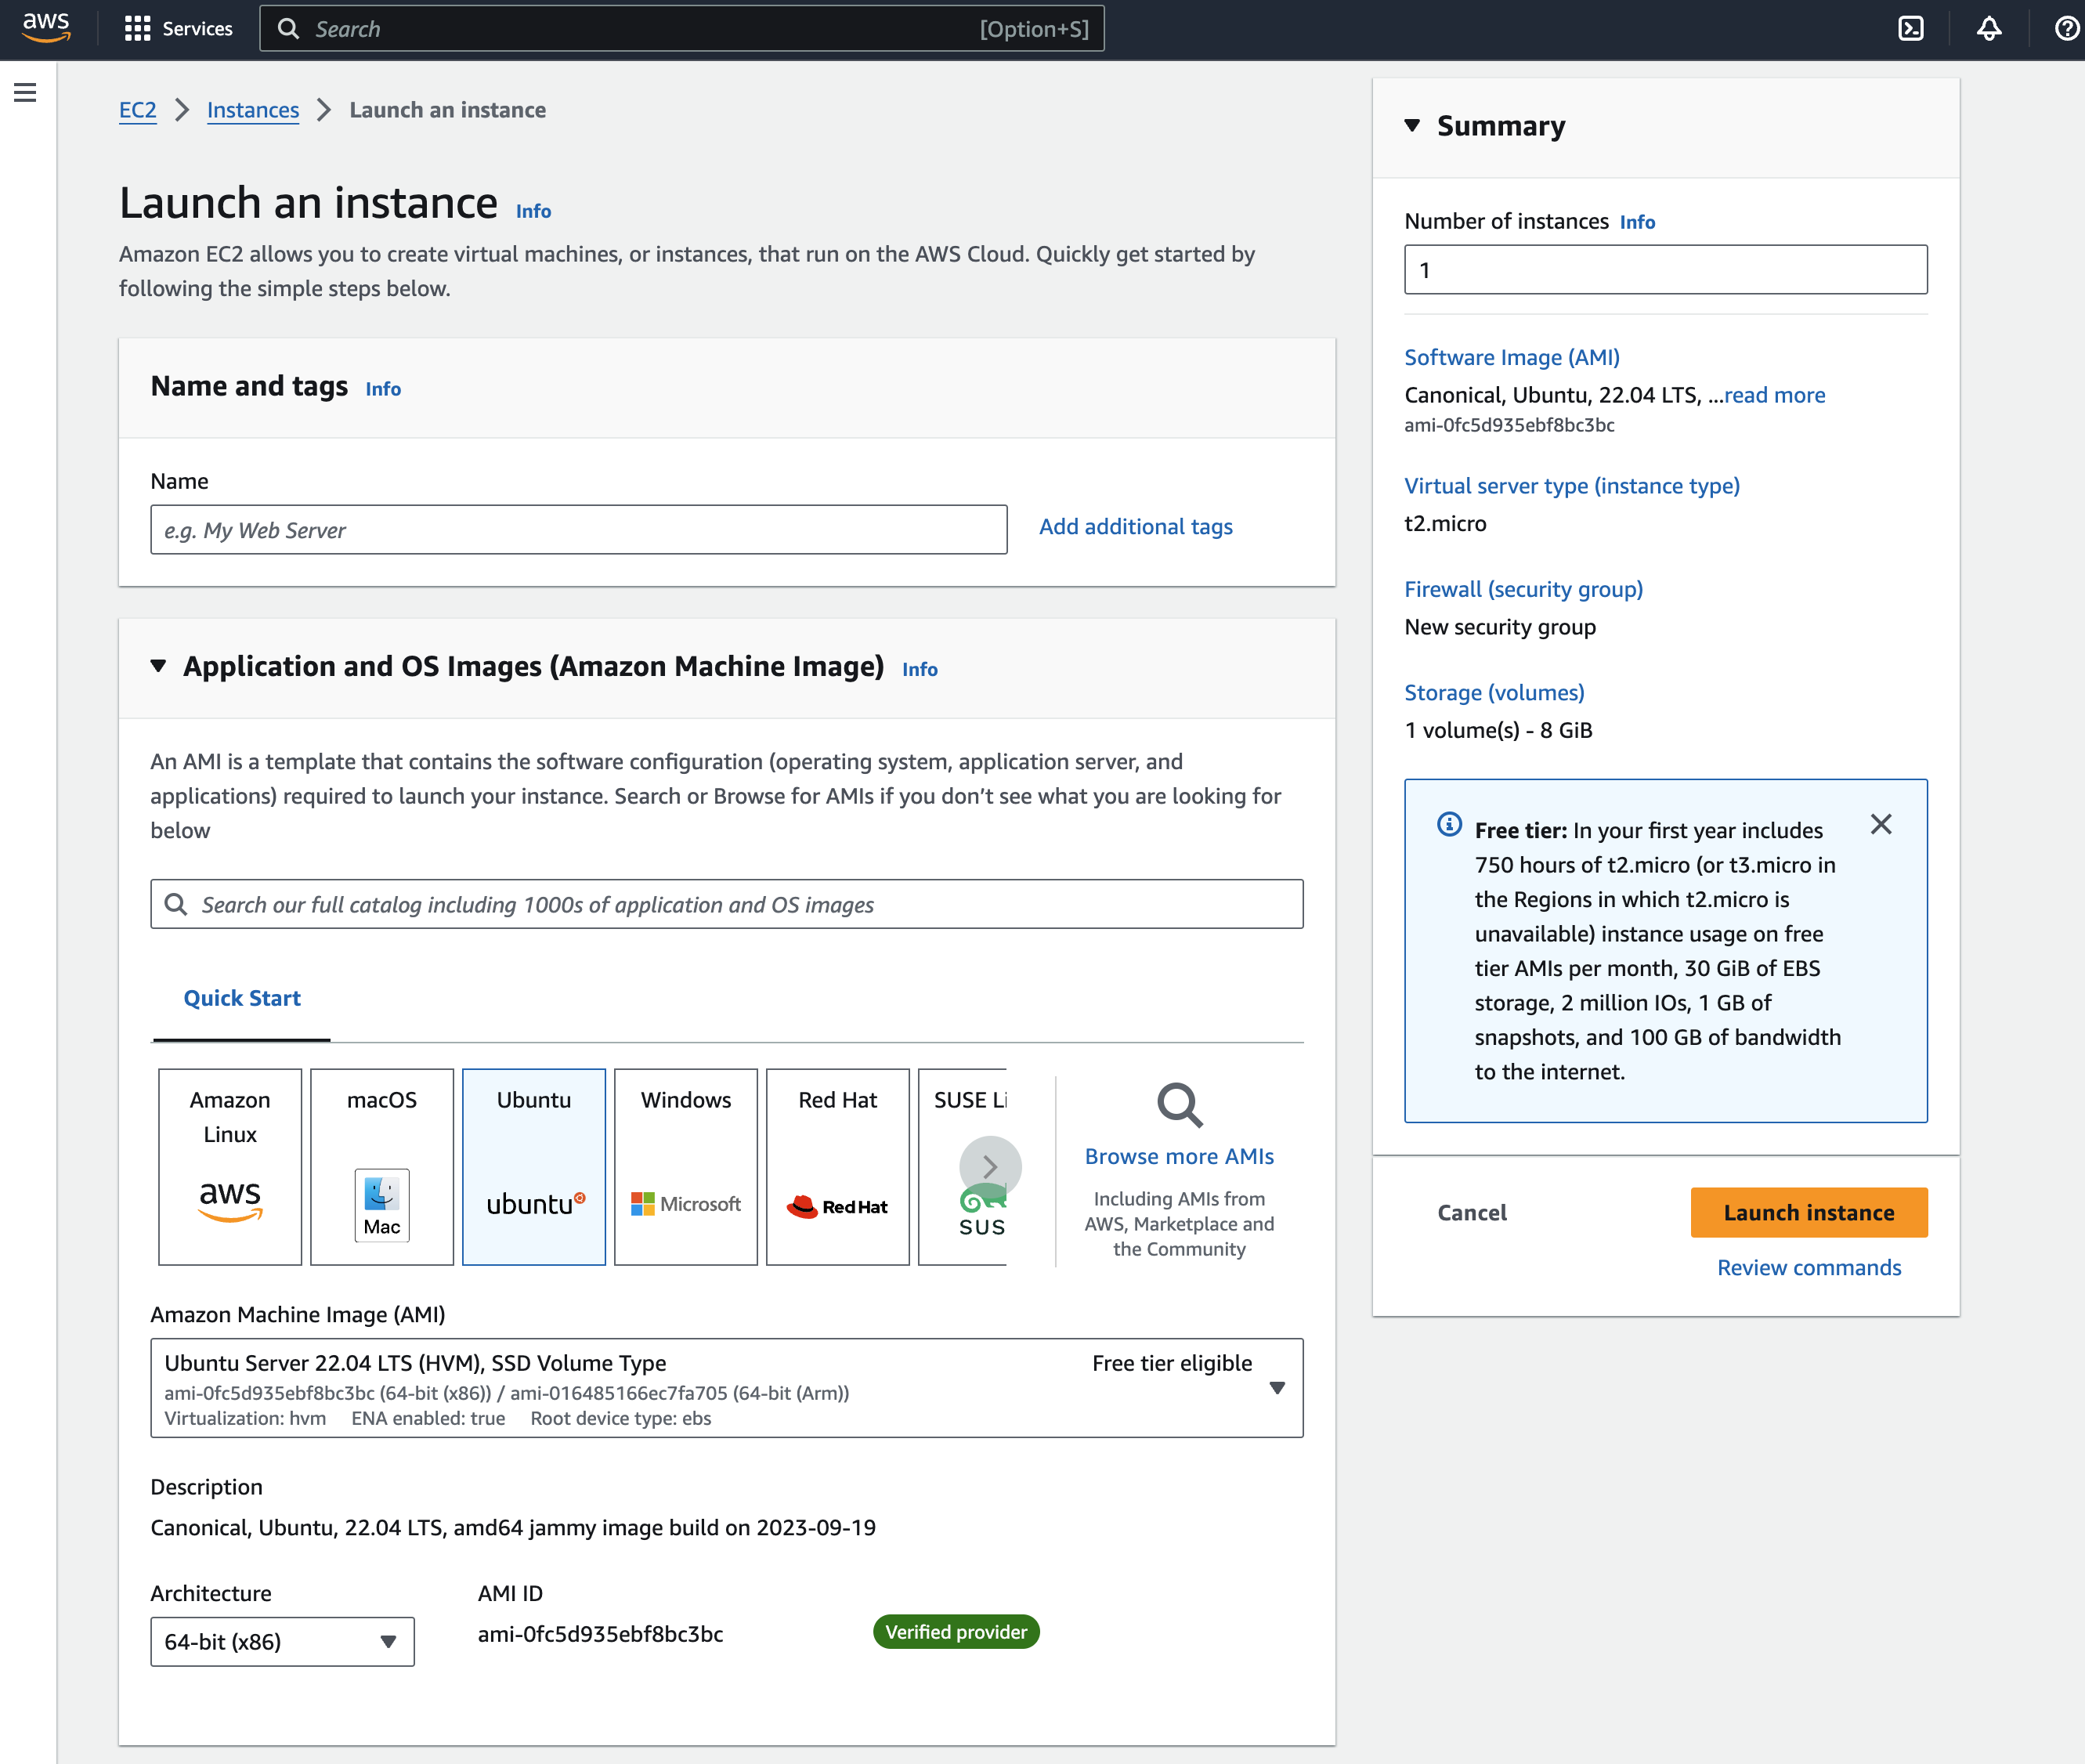
- The t2.micro instance is the only one available for Free Tier, which will be fine for getting start
- Each instance type is optimized for different purposes. Choose one at your discretion
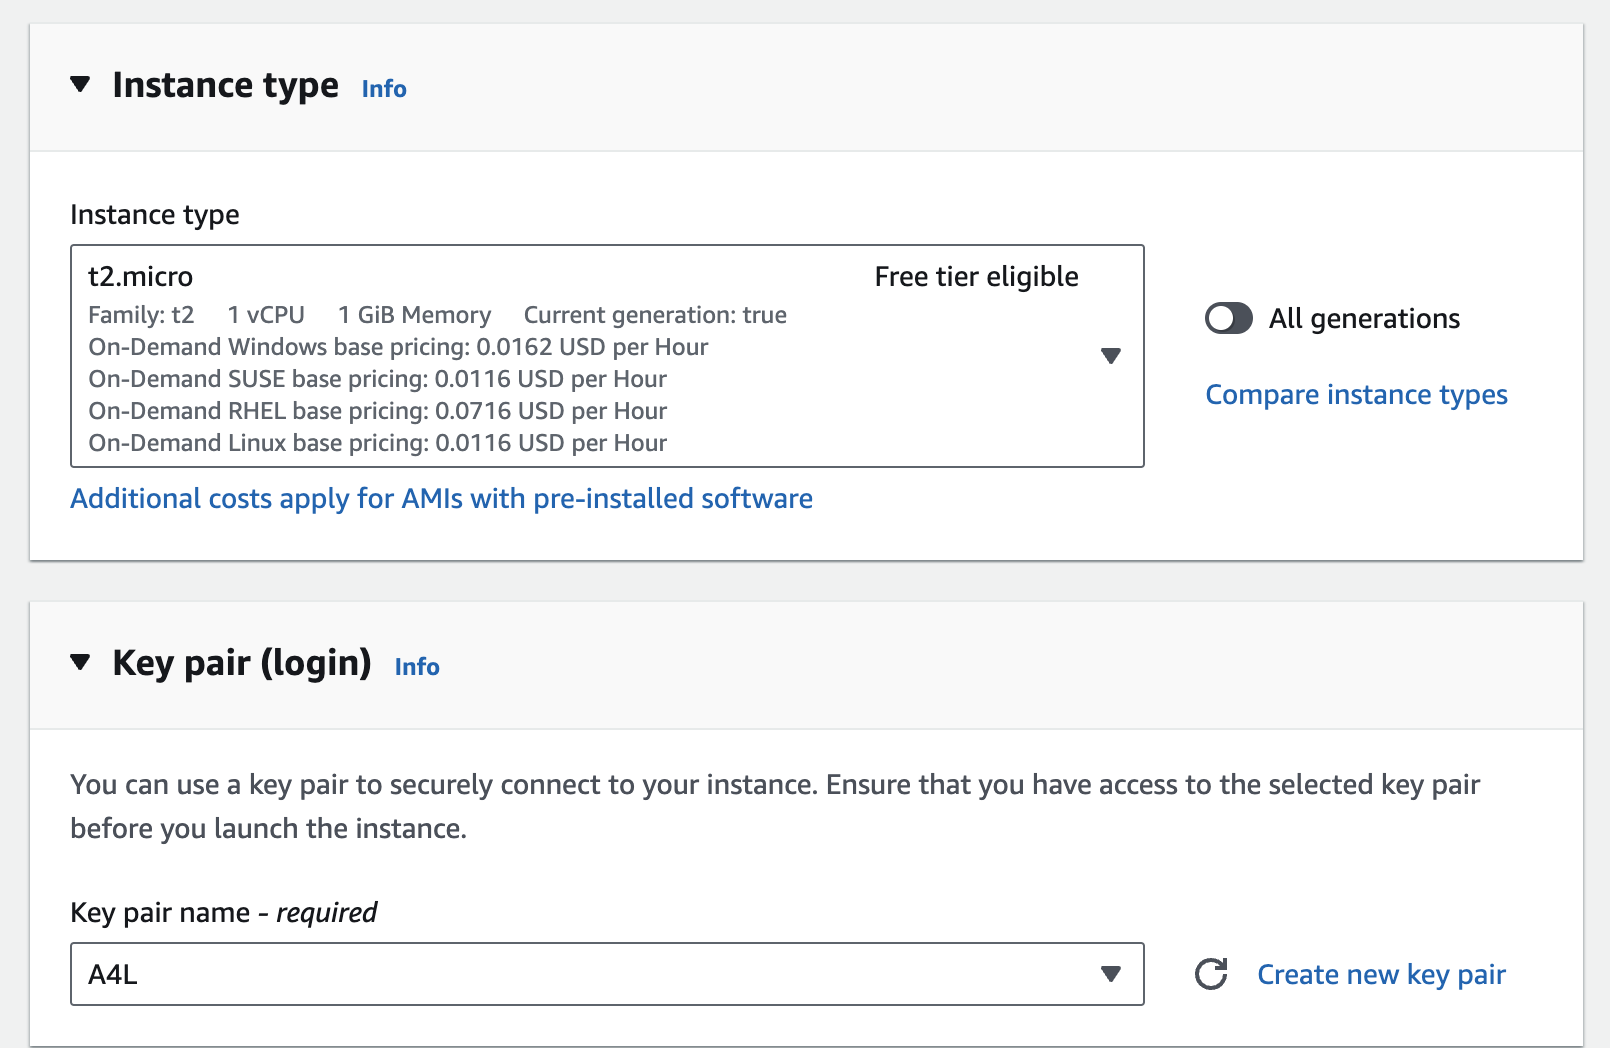
- Each instance type is optimized for different purposes. Choose one at your discretion
- Select the key pair you just created.
- Select your network settings
- For our purposes, we left this as the default option. You may wish to change these going forward, however.
- Using the default VPC can allow you to have your resource available to the public internet. If you do not want or require this, choose a custom option.
- Do not worry about your EC2 instance being public even if choosing the default option; you still need the key-pair .pem file you generated earlier. So, again, do not lose it and keep it safe.

- Configure your storage
- We left this as the default

-
- Click Review and Launch
- Instance should now be running. Check for it in the dashboard.
- Remember to stop the instance when you are not using it; AWS charges per minute of EC2 usage.
- A stopped instance will still incur charges for use of storage. To completely stop charges, the instance must be deleted.
VM Connection
- Under your available EC2 instances, click on the one you just created and then click the “connect” button
- Click the “SSH Client” tab
- This will give you instructions on how to use an SSH client to log into your instance remotely.
- MacOS, Linux, and modern Windows OS should have an SSH client pre-installed. On MacOS, this is the terminal.
- Open your SSH Client and
cdinto the directory containing your .pem file. - Change the permissions on the .pem file.
chmod 400 pem_filename.pem
- Connect to the instance using its public dns:
ssh -i "filename.pem" <public_DNS_address>
Setting up new users on an Ubuntu Instance
- Log into the instance from your SSH Client
- Check the currently logged-in user by entering
whointo the command line- you can get a list of all users on the instance by typing
cut -d: -f1 /etc/passwd
- you can get a list of all users on the instance by typing
- Run the command
sudo adduser <username>and follow the prompts- remember to save the credentials somewhere safe
- Give the user sudo permissions:
sudo usermod -aG sudo <username> - Switch the active user to the one you just created:
su - <username>- Note: it is bad practice to use the root user
Installing PostgreSQL on EC2 Ubuntu Instance
sudo apt update- This command is used to update package information
sudo apt upgrade- This command upgrades the packages based on the information downloaded in the previous update command
- If you are prompted to reboot the instance, do so. Then, log back into the instance with the user you have created
sudo apt install postgresql postgresql-contrib- This command installs postgres on the instance
sudo apt-get install postgis- This command installs the required files to run the PostGIS extension for Postgres
sudo systemctl start postgresql.service- This command starts running Postgres. If you stop your EC2 instance, you will need to run this line again.
Setting up the postgres database
- Open an interactive shell session as the user postgres with elevated privileges. Let’s use:
sudo -i -u postgres- this is slightly different from using the
sucommand as thisopens a new shell session and environment
- this is slightly different from using the
- Create a new user:
createuser --interactive(I named mine dbadmin)- remember to make this a superuser
- Note that you can only create new superuser roles if you are creating them while logged in from a role that is already a superuser. By default, the postgres role is a superuser, which is what you should be logged in as.
- start using the postgres command line interface by typing
psqlinto your ssh shell- You can always exit psql by entering
\qinto the command line
- You can always exit psql by entering
- Check that the new user has been created by entering
\duinto thepsqlconsole - Switch to the new role you just created:
-- remember, you can always use SQL syntax in the psql command line SET ROLE <role_name>; -- Check that you are switched to the new role: SELECT current_role; - Create a new database with the desired name by typing in standard sql code:
CREATE DATABASE my_postgis_db; - Make sure that you have created the database asnd it is owned by the new role you have created by typing
\linto thepsqlconsole-- This SQL code will also give you the same information as `\l` SELECT * FROM pg_database; -- to exit the console menu if stuck, click the `q` key on your keyboard. - Enable PostGIS capabilities
 CREATE EXTENSION PostGIS;

 -- check to make sure it is now enabled:
 SELECT extname FROM pg_extension where extname = 'postgis';
Notes:
For any role used to log into Postgres, that role will attempt to connect to a database of the same name by default. You can create the appropriate database with the createdb command and adjust what database to connect to.
Enabling GUI on EC2 (not recommended for this tutorial)
Important consideration for GUI use: As of writing this, CPU credits are limited to about 144 credits for the free-tier eligible micro EC2 instance. These credits are regenerated every 24 hours (6 credits per hour). GUI use seems to monopolize CPU usage and was not necessary for our work. It will also incur performance costs. More info about CPU and credit usage here.
However, to remote in with a GUI, we took these steps:
- Edited the security group settings in the AWS Management Console for the instance for RDP import access port
- To remote in from a Windows local machine, open Remote Desktop Connection and enter “ec2-x-xx-xxx-xx.us-east-1.compute.amazonaws.com”. For Linux, use the VNC viewer.
Postgres Data Import
Copy local files onto the AWS EC2 Ubuntu Virtual Machine. Make sure you have the .pem file handy.
scp -i path\to\pem\file -r C:\Users\username\directory\of\files user@ec2-xx-xxx-xx-xx.us-east-2.compute.amazonaws.com:~/path/to/save/location- To upload a single file instead of a directory, remove the-r(recursive) option.
You could also use the PostGIS Shapefile Import/Export Manager as an alternative. But that is a GUI application, is less reproducible and cannot be automated.
Next Steps:
Using ogr2ogr
Use the ogr2ogr command to upload vector spatial data into the database. This can be used for a multitude of file types, but the general structure of the code stays the same (see that the code chunks below are almost identical). Note that the option -lco precision=NO and argument are often necessary when importing shapefiles, which contain field size limits. If uploading data to to postgres that has been copied to the virtual machine, you must now connect to EC2 instance prior to following the next steps. Instructions on connecting to EC2 are found earlier in this markdown.
For uploading Shapefiles and GPX files, respectively:
ogr2ogr -f "PostgreSQL" PG:"host=localhost user=postgres dbname=postgres password=PASSWORD port=5432" FILE_PATH.shp -overwrite -lco precision=NO -lco GEOMETRY_NAME=geom -nln "NAME_OF_NEW_TABLE"
ogr2ogr -f "PostgreSQL" PG:"host=localhost user=postgres dbname=postgres password=PASSWORD port=5432" FILE_PATH.gpx -overwrite -lco GEOMETRY_NAME=geom -nln "NAME_OF_NEW_TABLE"
If you encounter an error, you might need to download GDAL from https://gdal.org/download.html and paste the folder into your postgres program folder.
Importing CSVs with psql
First, create the table you wish to upload data to:
CREATE TABLE schema.table_name (
column_name1 text,
lat double precision,
lon double precision
);
Then, use the COPY command to load the CSV to the table:
copy ch01.restaurants_staging
FROM 'CSV_file_path.csv'
DELIMITER as ',';
Securing the Virtual Machine and PostgreSQL Database
https://www.digitalocean.com/community/tutorials/how-to-secure-postgresql-against-automated-attacks contains useful information on securing the database. It helped us set up a firewall on our EC2 instance while only allowing our specific IP addresses through them.
To do this we used the following commands:
sudo ufw status- To check the status the firewallsudo ufw enable- To enable the firewallsudo ufw allow from <client-ip> to any port 5432- restricts database access to specific IP addresses
Accessing the EC2 Postgres Database on PgAdmin
- This guide was very helpful in the second step of getting IP addresses specifically set up for use of the database with Postgres.
- To keep security strong, we elected to add only the IP addresses we will be using as the allowable ip addresses to access the database.
We had to augment the pg_hba.conf file to change the allowable ip addresses.
Note: We had an error where the database was not starting up after changing the pg_hba.conf file. The error arose because we did not include a /xx notation at the end of an ip address and the invalid IP was preventing the server from starting up.
Data Visualization
To visualize our data stored in the Postgres database, we chose to use a combination of Geoserver and Leaflet
Geoserver Set-up
- Geoserver was set-up on our local machines, following this guide .
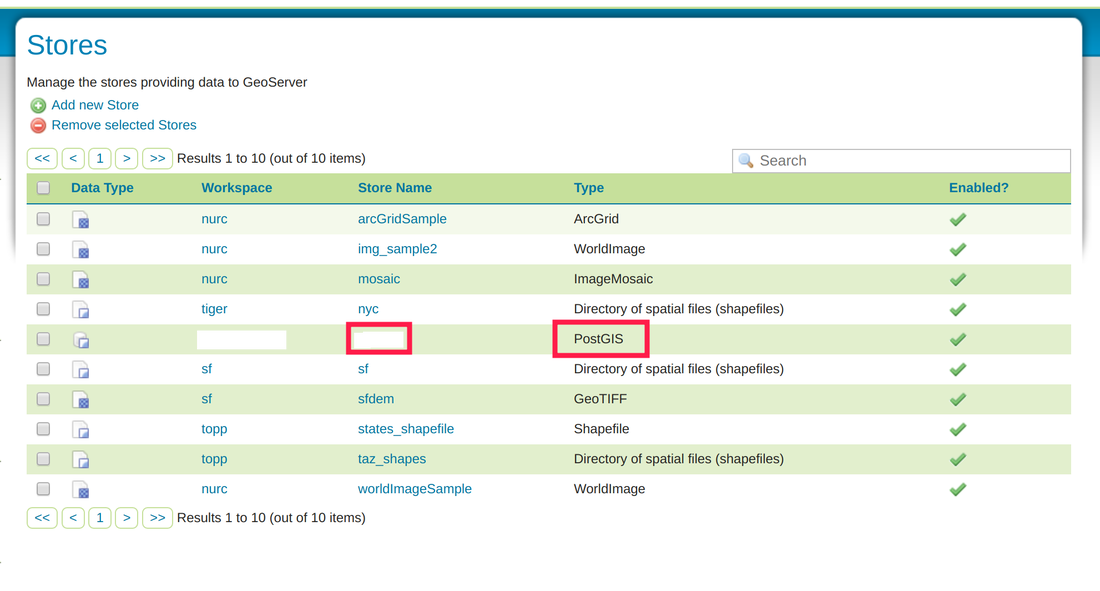
- Connected to our Postgres database by creating a new “Store”, then adding our EC2 and database parameters.
- Styling layers
Leaflet Visualization
After setting up GeoServer, we pulled data into Leaflet.js to visualize it as a web map. The code for our web map can be found here on hackmd.io, along with additional details regarding EC2 security/firewall implementation.
